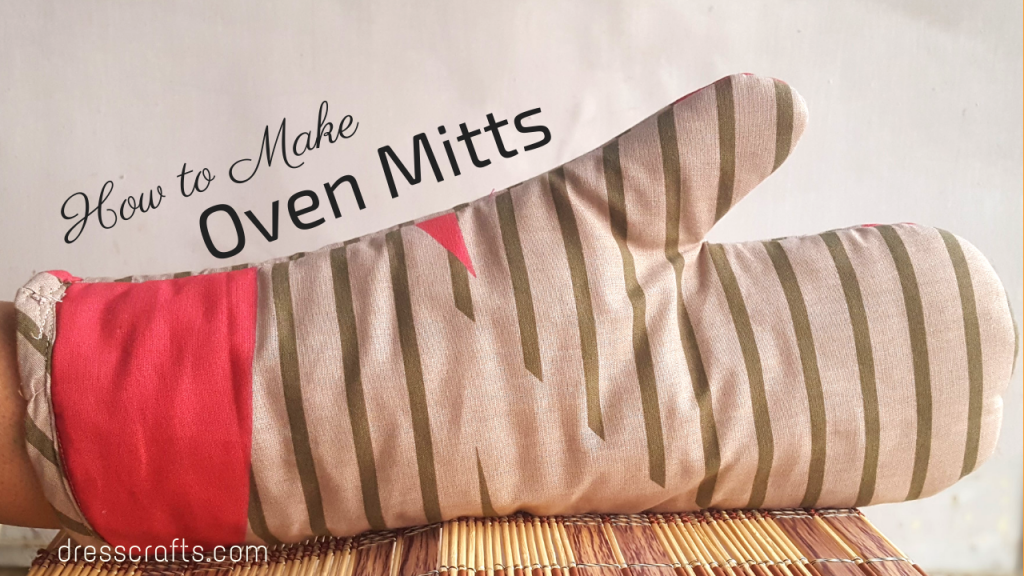
A few months back I have made Table placemats and response by our readers are tremendous, so I decide to make some things super easy which requires almost similar stuff. Today we are making Oven Mitts which is necessary for any household kitchen desk, I have also made a pattern for this Oven Mitts which includes Free trivet patterns in THREE SHAPES (link to pattern). How to Make Oven Mitts are easy sewing tutorial that uses quilting and scrap fabrics.
I didn’t do Quilting in every project like last time did it on Table Placemats sewing project and now I am doing here but quilting part is going to be on an inner side, even it was inside I have explained it step by step. I am very happy with results and lastly, free trivet Patterns with Oven Mitts Patterns makes me even happier for you guys. I am always eager to teach my student good lessons which make them love sewing, Startup things that any beginner can follow a reasonable and in budget guidelines that I personally use at my startup, Read my Sewist Blog.
DOWNLOAD OVEN MITTS PATTERN WITH FREE THREE SHAPES TRIVET PATTERN
I am going to explain sewing step by step. I have also embedded video below so you can watch visual tutorials.
In search of Christmas Stocking Free Pattern?? Grab from here
HOW TO MAKE OVEN MITTS – SEWING STEPS
Quick Steps are:
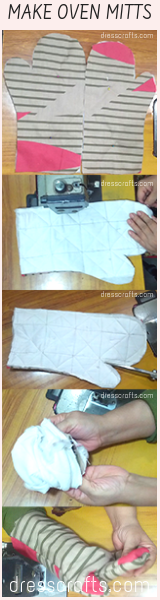
MAKE OVEN MITTS
1. Take polyester, cotton batting with organic cotton which Length is 16 Inch and Width is 9 Inch, align all layers one by one.
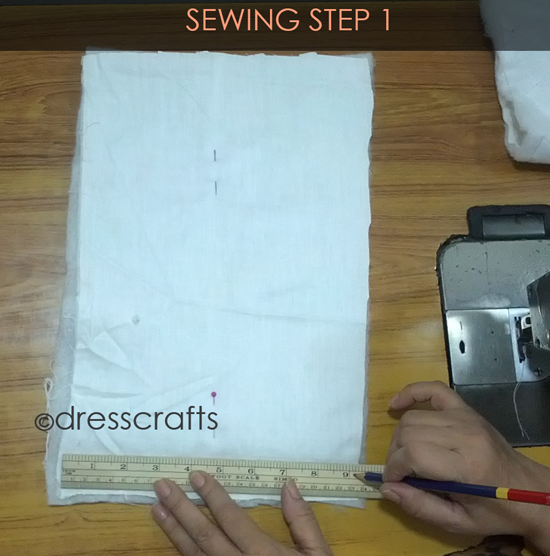
2. Start making a basic shape for quilting, see I am drawing verticle lines with equal distance

3. Similarly goes for horizontal lines, this is the simplest quilting style and I love it.

4. Do stitching by following line vertically.

5. stitch horizontally as well.

6. Start Diagonal stitching

Easy Oven Mitts Sewing Step 6
7. Final look of quilted work
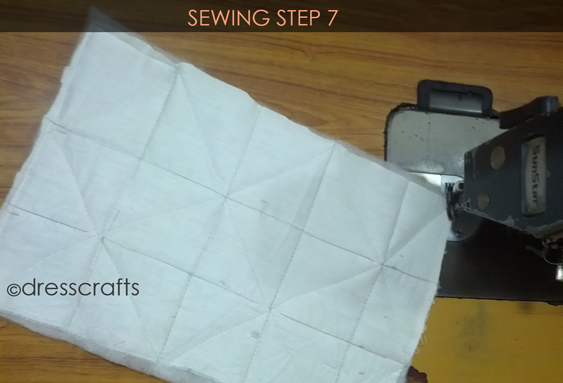
Easy Oven Mitts Sewing Step 7
8. Take Pattern from this link, print it and map it in a similar manner
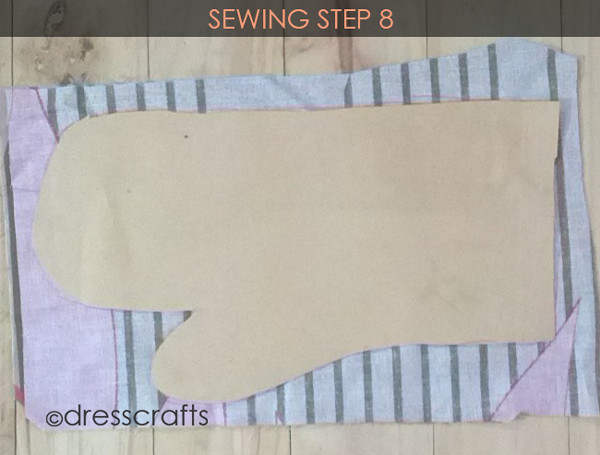
Easy Oven Mitts Sewing Step 8
9. 0.25 Inch Seam allowance required here
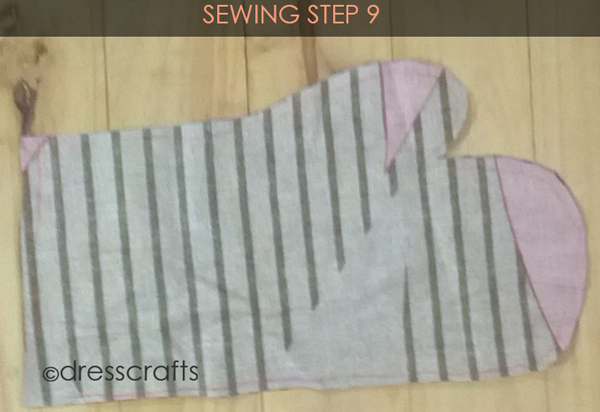
Easy Oven Mitts Sewing Step 9
10. Now Place quilted pieces below fabric
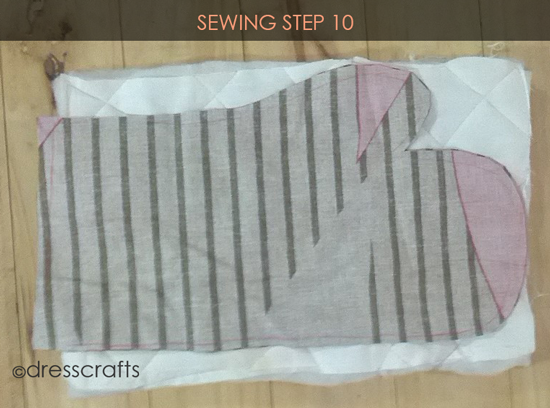
Easy Oven Mitts Sewing Step 10
11. Cut it
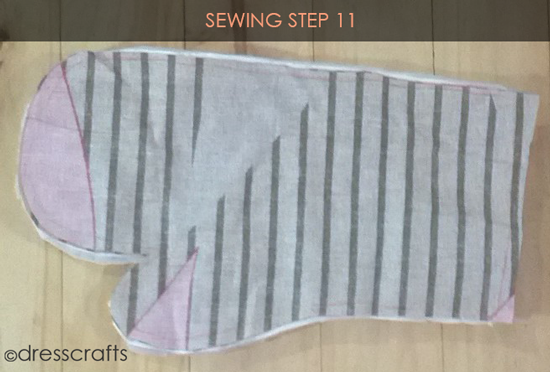
Easy Oven Mitts Sewing Step 11
12. We need two pairs of last step to make one oven mitts.
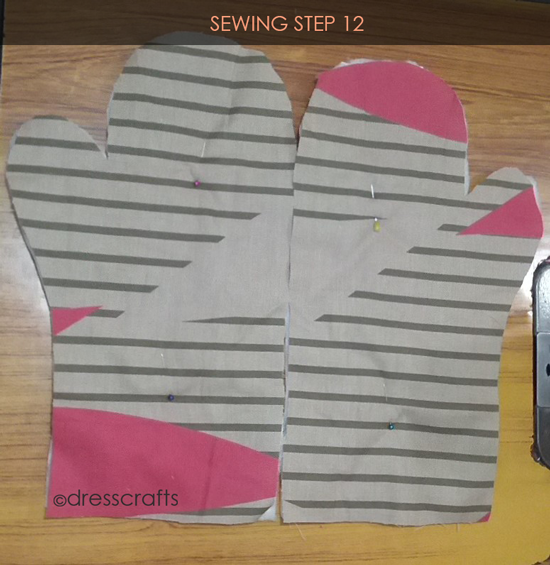
Easy Oven Mitts Sewing Step 12
13. Start sewing both pieces together at edges
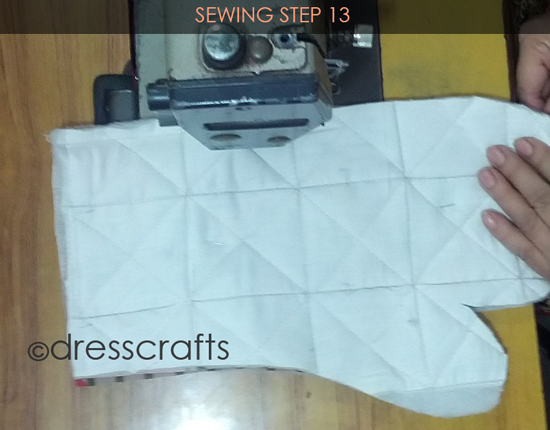
Easy Oven Mitts Sewing Step 13
14. This is how it looks, batting+ fabric+ fabric+ batting
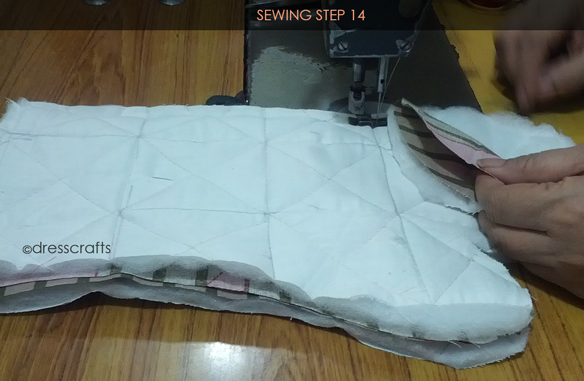
Easy Oven Mitts Sewing Step 14
15. Thumb area is most crucial part to sew so, sew it slowly 🙂
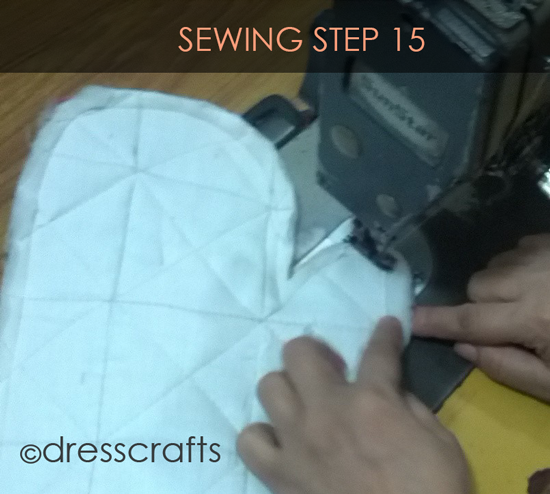
Easy Oven Mitts Sewing Step 15
16. Make Notches at curvy areas.
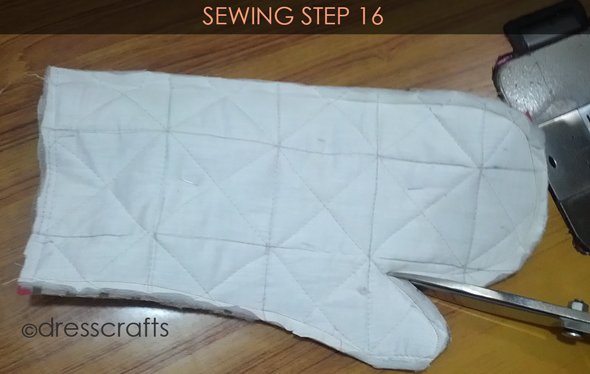
Easy Oven Mitts Sewing Step 16
17. Revert it
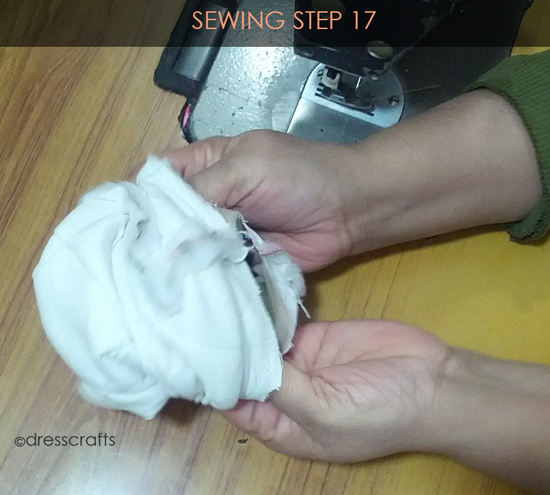
Easy Oven Mitts Sewing Step 17
18. Front look
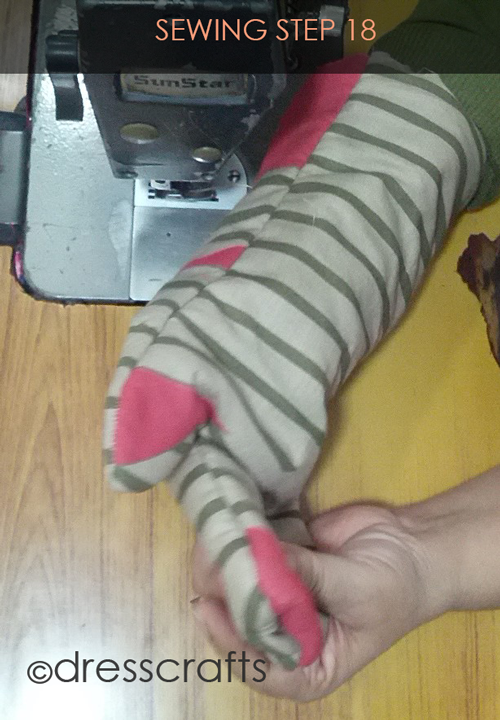
Easy Oven Mitts Sewing Step 18
19. Now we need to hem wrist side
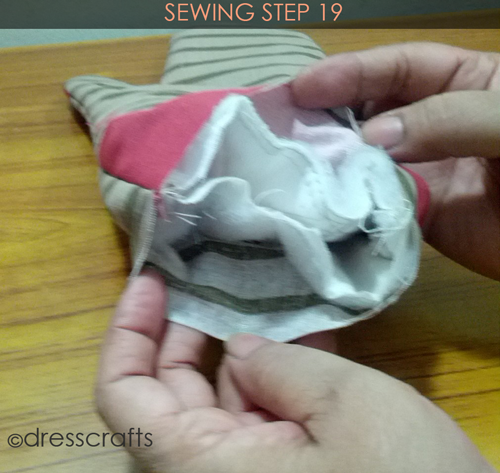
Easy Oven Mitts Sewing Step 19
20. 2 Inch biastape required for this (width), Learn How to make bias tape and secure it for reuse
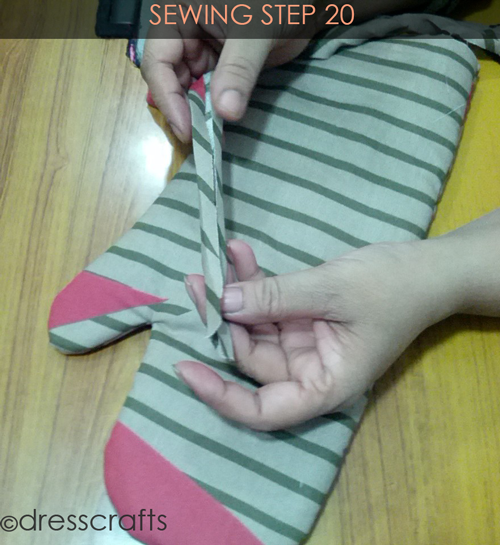
Easy Oven Mitts Sewing Step 20
21. Sew from one side
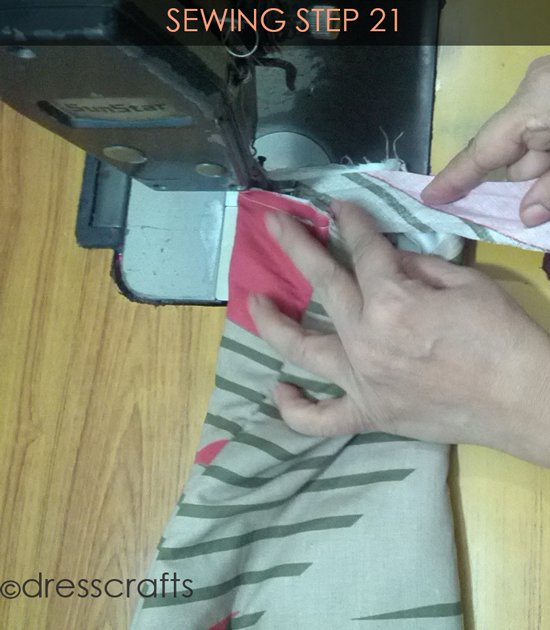
Easy Oven Mitts Sewing Step 21
22. Remember to join it from inside, so we can easily finalize it from front facing
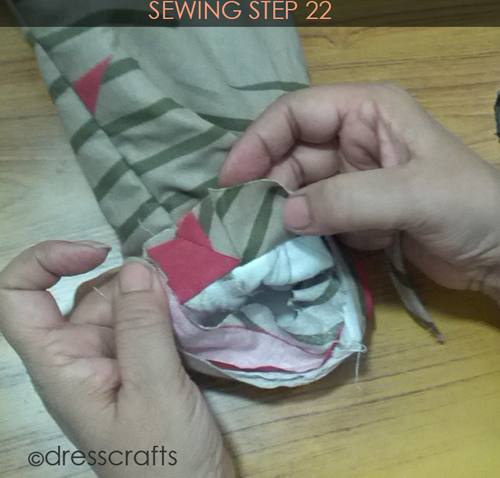
Easy Oven Mitts Sewing Step 22
23. Fold it exactly below image.
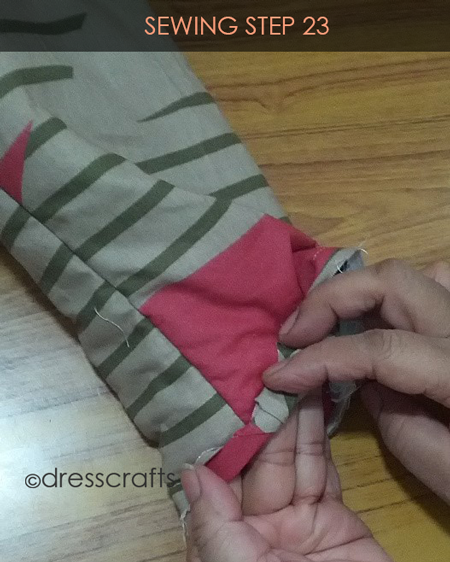
Easy Oven Mitts Sewing Step 23
24. Start to stitch it

Easy Oven Mitts Sewing Step 24
25. Oven mitts hook making needs 1 inch width starp and sew it in same manner of biastape ( above linked)
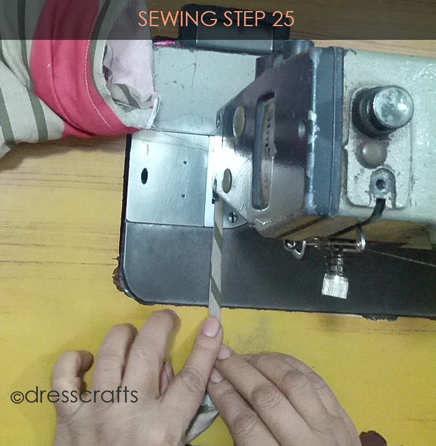
Easy Oven Mitts Sewing Step 25
26. Hook holder
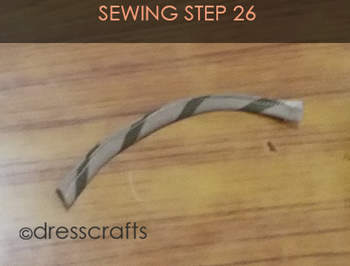
Easy Oven Mitts Sewing Step 26
27. It hardly of 2.5 Inch
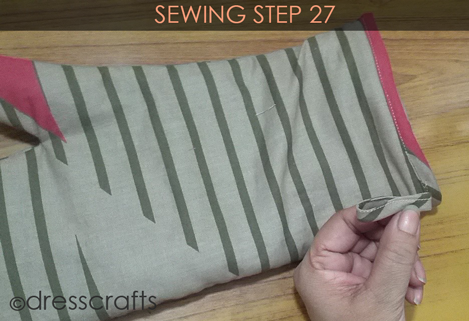
Easy Oven Mitts Sewing Step 27
28. Join it on inner seam, below the themb area is best according to me
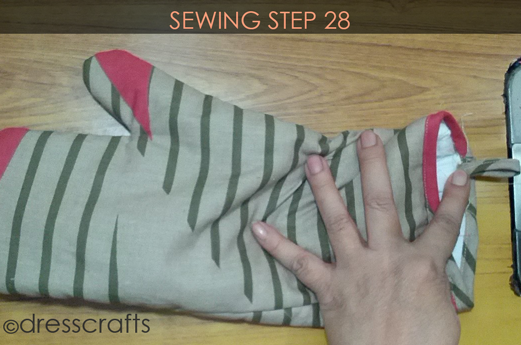
Easy Oven Mitts Sewing Step 28
FULL TUTORIAL:
I love custom work in sewing, pattern making, cutting and pattern grading. Enjoy the quick and easy steps of Oven mitts, I hope you guys like it.
DOWNLOAD OVEN MITTS PATTERN WITH FREE THREE SHAPES TRIVET PATTERN
xoxo,
Cheers!!!!
