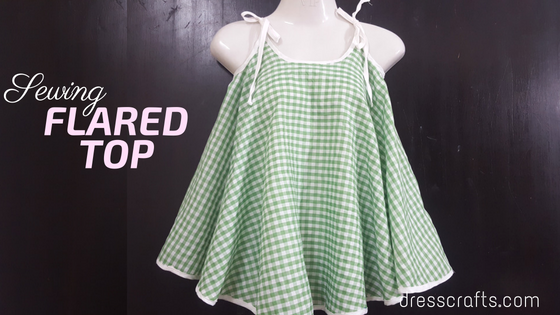
Sewing flared top is the simplest tutorial with all basic steps of cutting and sewing. This Circle top sewing tutorial is no pattern dress with quite simple to sew and very cosy for this summer and spring, you can also try my circle skirt dress tutorial. This is too simple top which can be wear with jeans. A Flared Top is for 11 to 13 Year Girl. You can also make some other projects by learning sewing with our tutorials.
Sewing flared top is unique design with stylish looks with only few sewing steps, as a sewist, I love to work in a custom way and all I want here to tell you guys want I learn in years of life. Want to learn more??? Subscribe to my youtube channel So you will get Sewing Tutorials on a weekly basis.
I am going to explain sewing step by step, Afterwards, you can make it your baby dress by yourself.
1. FLARED TOP SEWING STEPS
1 We are starting with measurements, Firstly four fold fabric and make it like cone, Having problem? visit here for a better explanation. Length is 21 Inch.
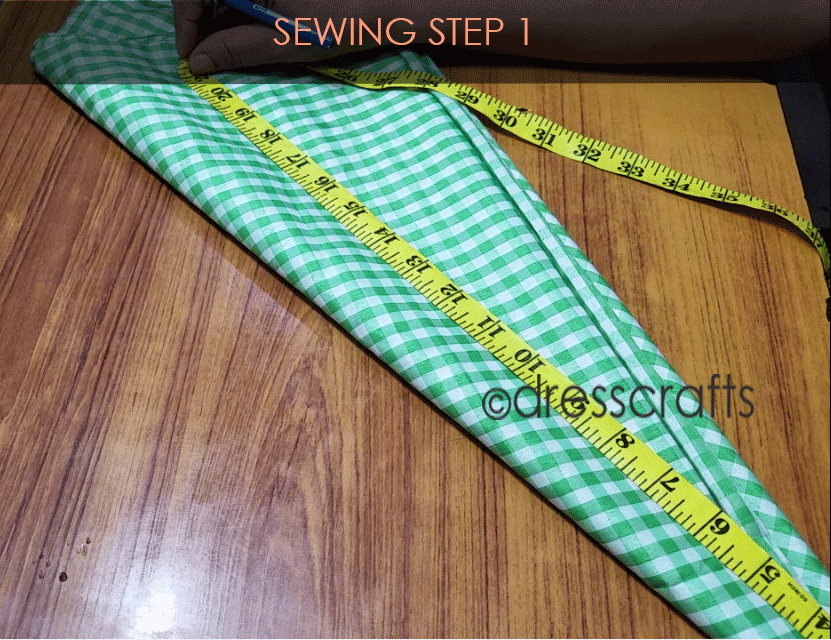
Flared Top sewing step 1
2 Mark as Circle by 21 Inch difference equally from top edge.
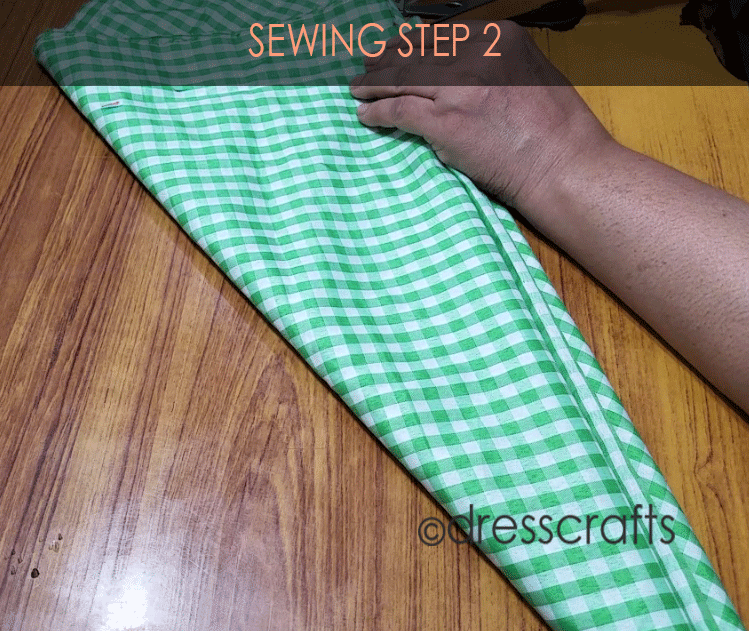
Flared Top sewing step 2
3 cut the marked area
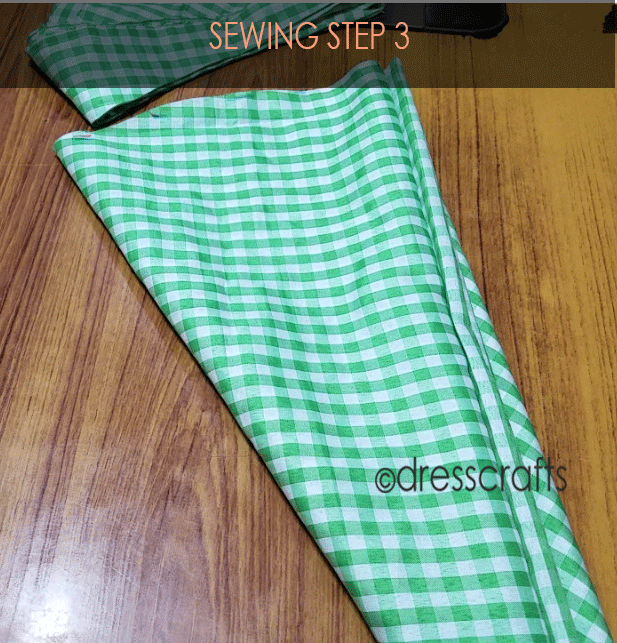
Flared Top sewing step 3
4 Open the folds and pick the main top edge area.
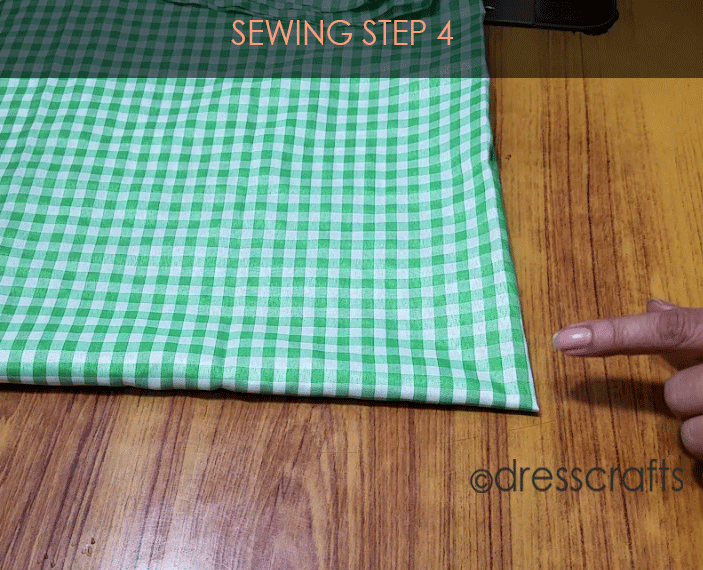
Flared Top sewing step 4
5 Now take 2.5 inch away point

Flared Top sewing step 5
6 Take vertical point as well to draw an curve from one point to other of same size 2.5 Inch

Flared Top sewing step 6
7 Draw the curve
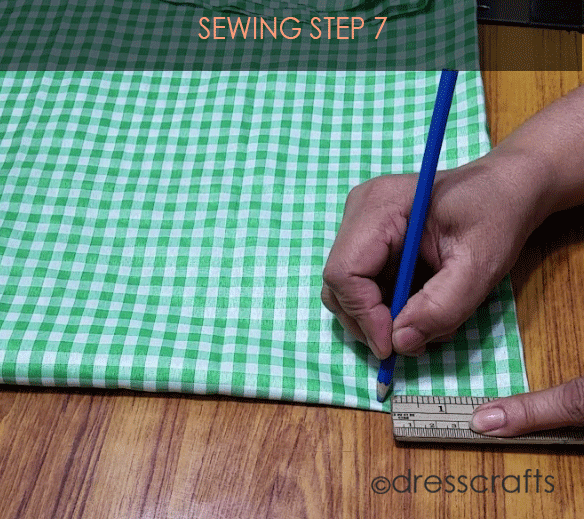
Flared Top sewing step 7
8 You can see in the below image I have drawn one more curve which is back neck, width is going to be same as 2.5 but hieght would be 1.5 Inch
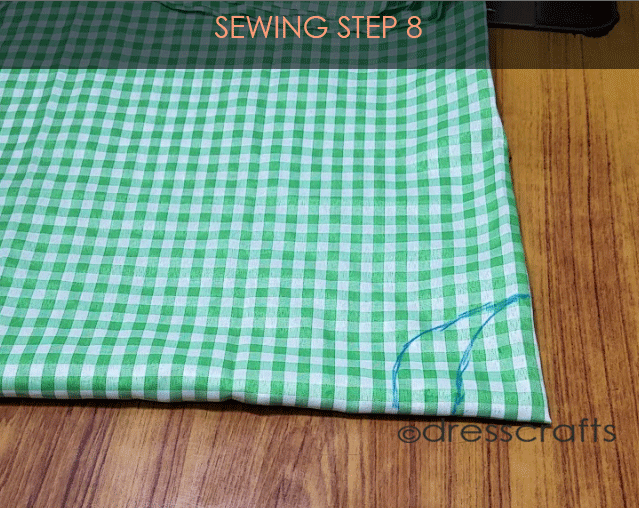
Flared Top sewing step 8
9 Mark point 3 inch away from the strating point of neck.
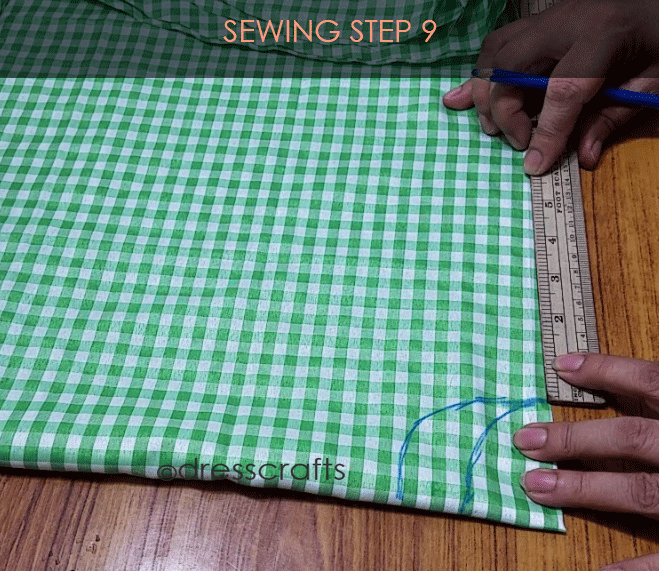
Flared Top sewing step 9
10 Mark the deepness of 1 Inch
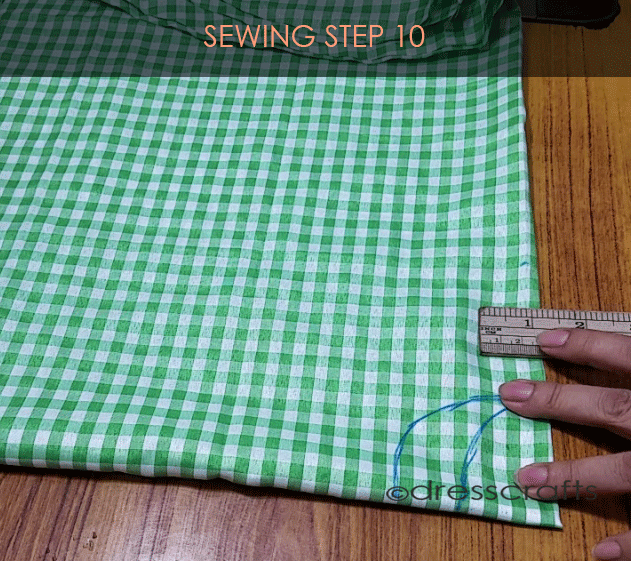
Flared Top sewing step 10
11 Now draw Curve or half circle here

Flared Top sewing step 11
12 Look how our all marked points should look.

Flared Top sewing step 12
13 Start Cutting armhole
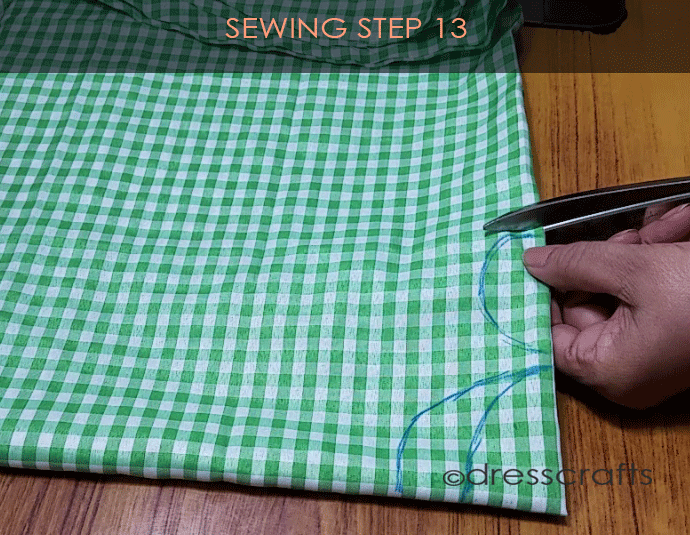
Flared Top sewing step 13
14 Do back neck cutting.
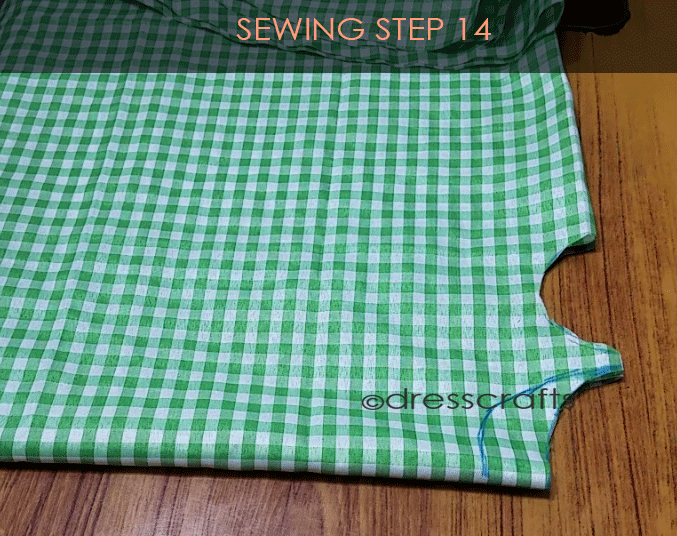
Flared Top sewing step 14
paper bag dress sewing step 14
15 After back neck put out back side and cut the front neck carefully.
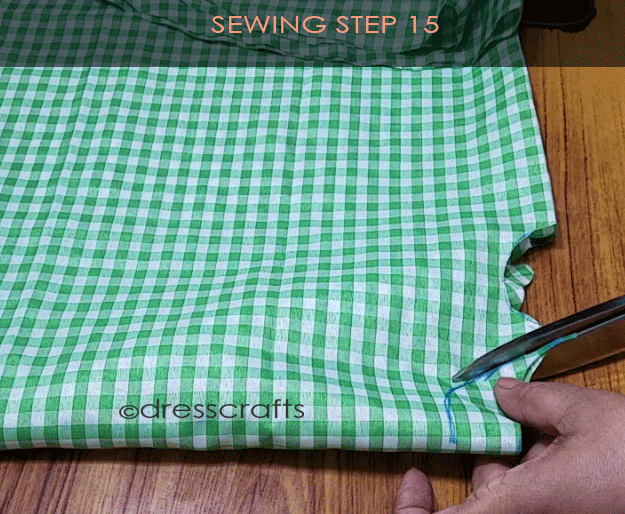
Flared Top sewing step 15
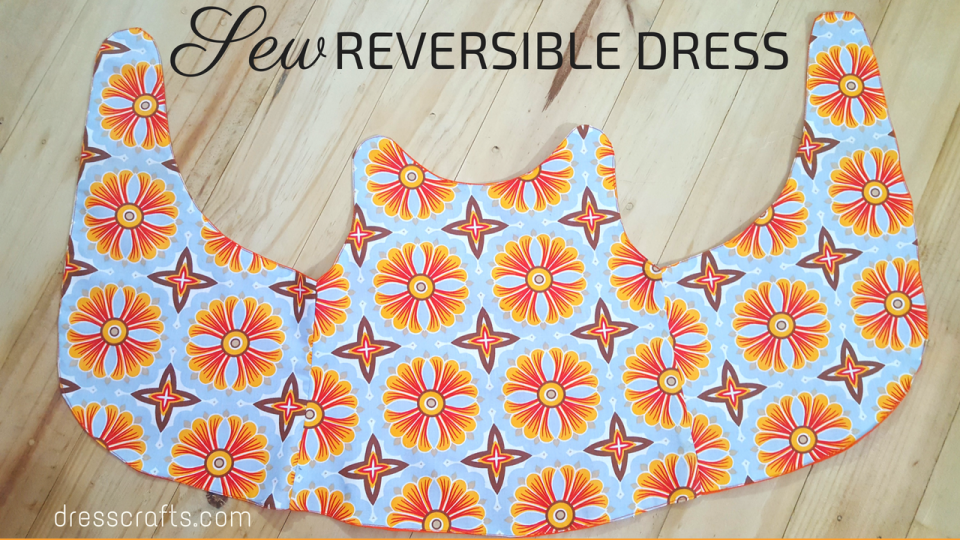
16 Our cutting piece look in full
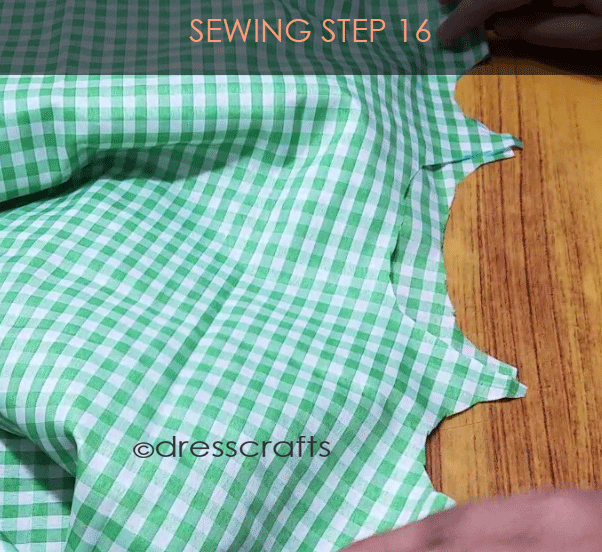
Flared Top sewing step 16
17 Our total meaurement after cutting should be 21.
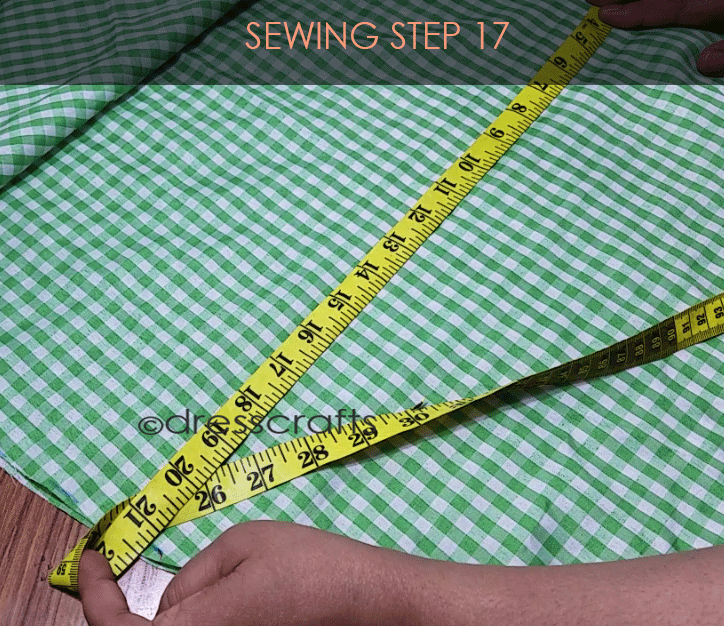
Flared Top sewing step 17
18 Attach biastape on armhole
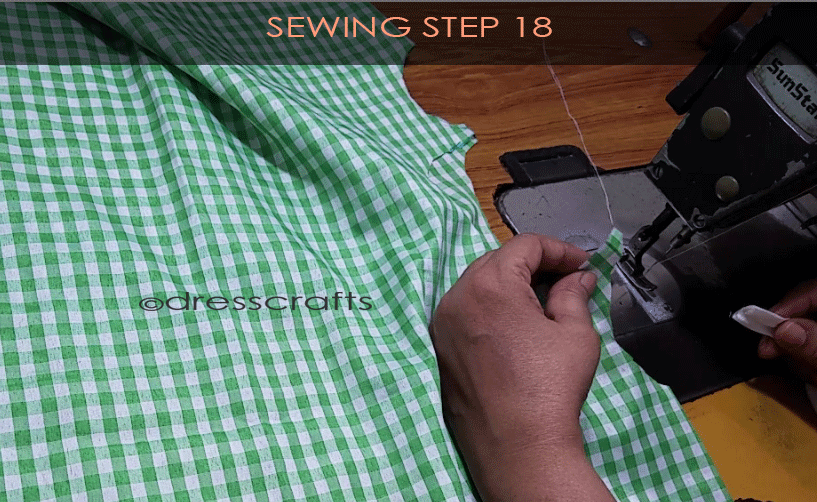
Flared Top sewing step 18
19 Remove the access amount from armhole
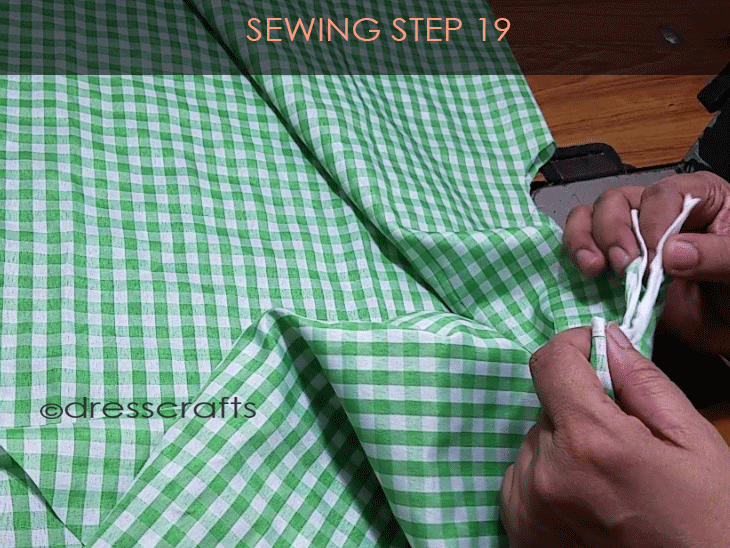
Flared Top sewing step 19
20 Now start with long baistape making, which later used for binding purpose around shoulder. Having problem in making biastape? Watch this tutorial
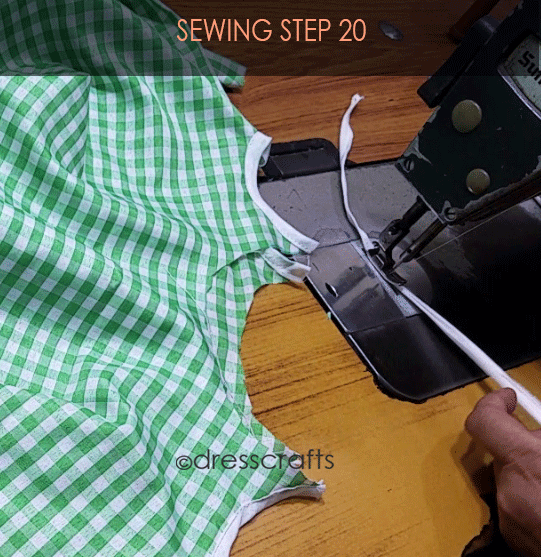
Flared Top sewing step 20
21 Attach that starp along with Neckline,

Flared Top sewing step 21
22 I have taken each extra 12 Inch in lenght for better binding by hand 😉

Flared Top sewing step 22
23 Make beautiful bow or knot
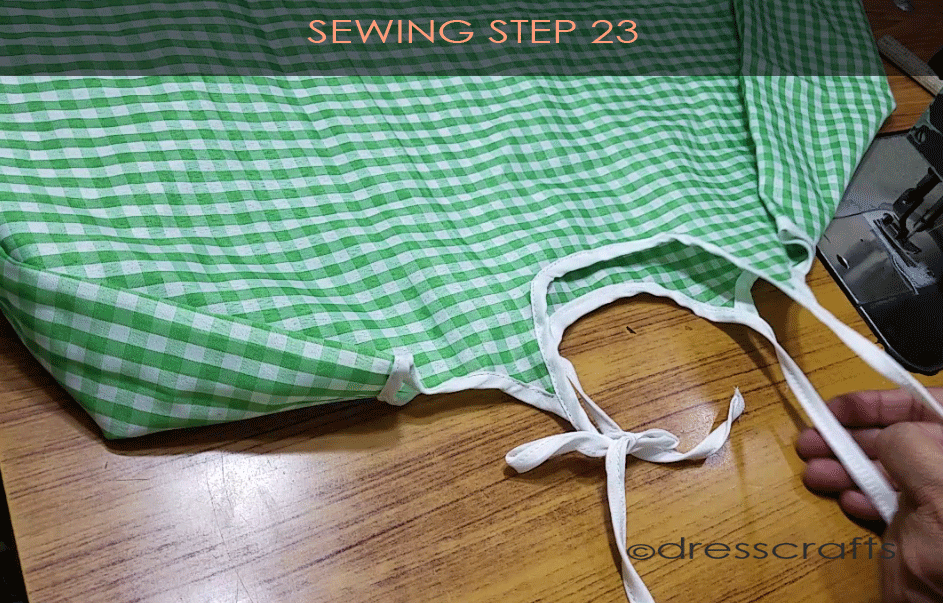
Flared Top sewing step 23
24 Lastly Sew the bottom part with biastape or just fold with single seam.
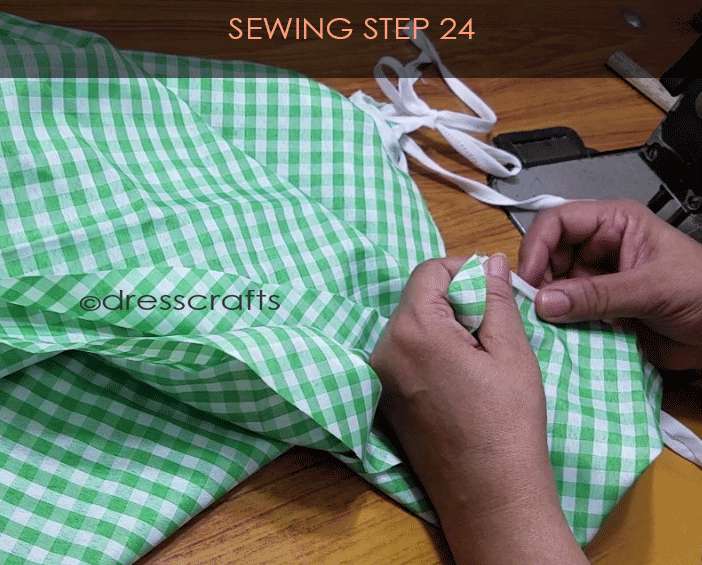
Flared Top sewing step 24
Taa Daa Your Flared Top is Ready to wear
I love custom work in sewing, pattern making, cutting and pattern grading. Enjoy the Sewing Flared Dress Tutorial, I hope you guys like it.
xoxo,
